
Designer help
Quick answers for every part of the sticker designer, with pictures and short videos of each step.
Step-by-step tutorial
Make a die cut sticker, step by step
Your picture, a clean cut around it, the right border and holes cut out: everything for a great die cut sticker, with pictures at each step.
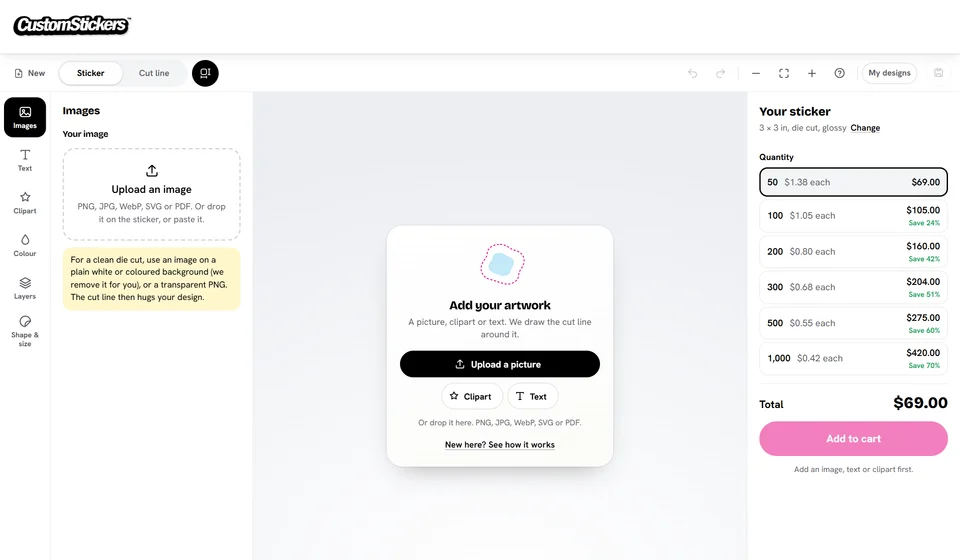
Start the tutorialYour sticker in four steps
- Pick a shape and a size
Die cut, circle, star, heart and more, in any size.
- Add your artwork
Upload a picture or a PDF. We remove a plain background and cut around it.
- Make it yours
Add text and clipart, pick colours, set the border.
- Add to cart and check out
The more you order, the less each sticker costs.
Browse by topic
Getting started
Your first sticker, step by step.
Adding artwork
Pictures, PDFs, text and clipart.
Arranging your design
Move, resize, turn, line up and stack.
Size, shape and cut line
Backgrounds, borders, the cut line and holes.
Colour and print quality
The sticker's colour and a sharp print.
Saving and ordering
My designs, your cart, checkout and reorders.
Questions and tips
Quick answers, shortcuts and phones.