
Make a die cut sticker, step by step
From your picture to a sticker cut around it, with tips for a clean result.
A die cut sticker is cut along the outline of your design, with a border around it, so it looks like your artwork and not like a box. It's our most popular sticker, and the designer makes it in a few taps.
What makes a die cut sticker
- Your artwork: printed in full colour.
- The white border: the vinyl around your design. It protects the edges of your art and makes the sticker easy to peel.
- The cut line: where the blade cuts. The designer draws it for you, around your artwork.
Step 1: Pick Die cut and a size
Open the designer, tap Die cut, then a size. The size is the sticker's longest side: 3 in is a favourite for laptops and water bottles. Not sure? Pick one now: you can change the size at any time.
Step 2: Add your picture
Tap Upload a picture, or drop a file on the sticker. The designer removes a plain background and draws the cut line around your design in a second.
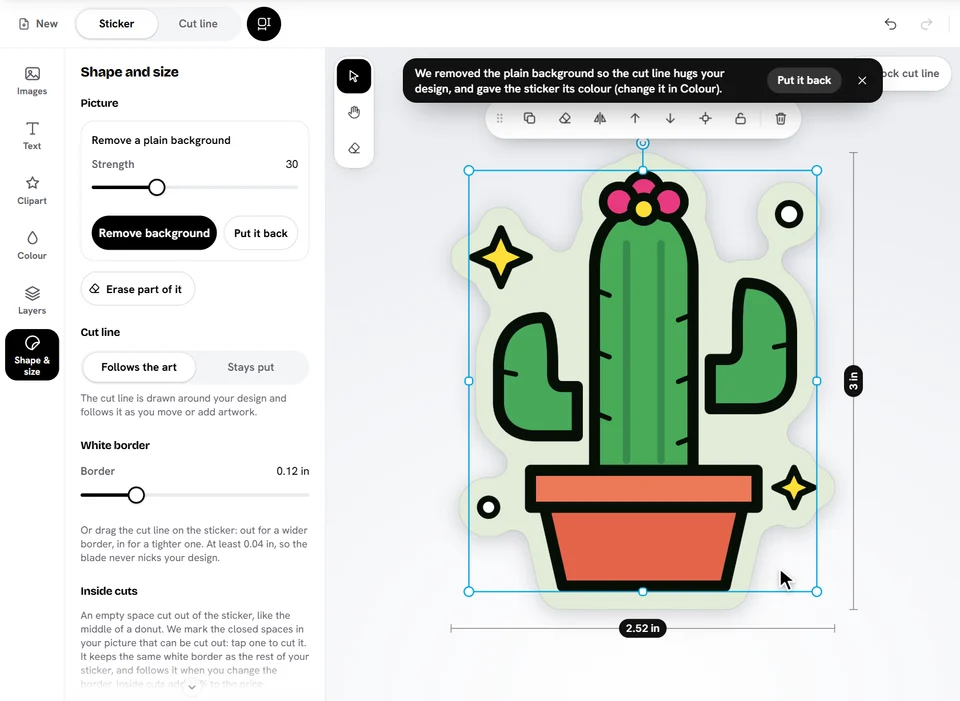
The picture you start with makes all the difference:
- Best: a transparent PNG, or artwork on a plain white or single-colour background. The cut hugs your design.
- Avoid: a photo with a busy background. There's no plain background to remove, so the sticker is cut around the whole picture. Cut it out first, or pick a classic shape instead.
- Big enough: about 200 pixels for every inch of sticker, so it prints sharp. See print quality.
Step 3: Clean it up
Something left over around your design? Erase it and the cut line follows. Background removed when you wanted it? Tap Put it back. Want more? Add text and clipart: the cut line goes around everything.
Step 4: Choose your border
Drag the cut line on your sticker (out for a wider border, in for a tighter one) or use the Border slider in Shape & size. A standard border of about 1/8 in looks clean and peels easily; a wider one feels bolder and sturdier. See the white border.
Step 5: Smooth the cut line (optional)
Lots of small bits and gaps? In Shape & size → Cut line shape, Simplify turns the outline into one smooth, rounded shape: bolder, and easier to peel. See Smooth or simplify the cut line.
Step 6: Cut out the holes (optional)
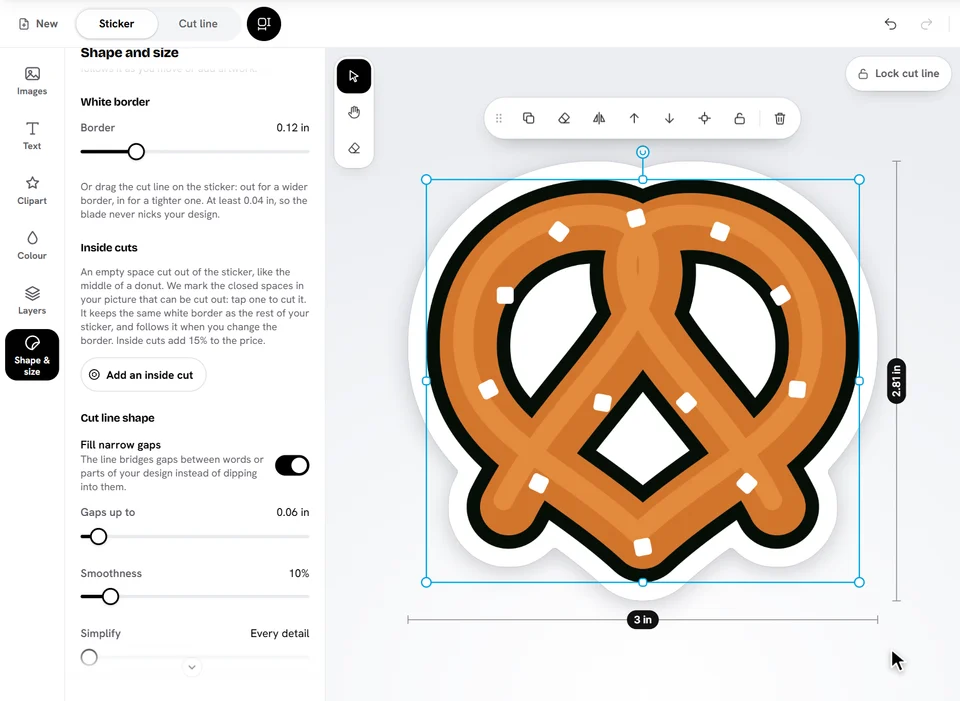
Artwork with empty spaces inside, like a pretzel or the letter O, can have them cut out. Select your picture, tap Add an inside cut in Shape & size, then tap each space. See inside cuts.
Last check, then order
Switch to the Cut line view at the top to see exactly where your sticker will be cut, and check there's no print quality warning at the top right of the sticker. Then pick a quantity and tap Add to cart.
Ready to try it?
Open the designer